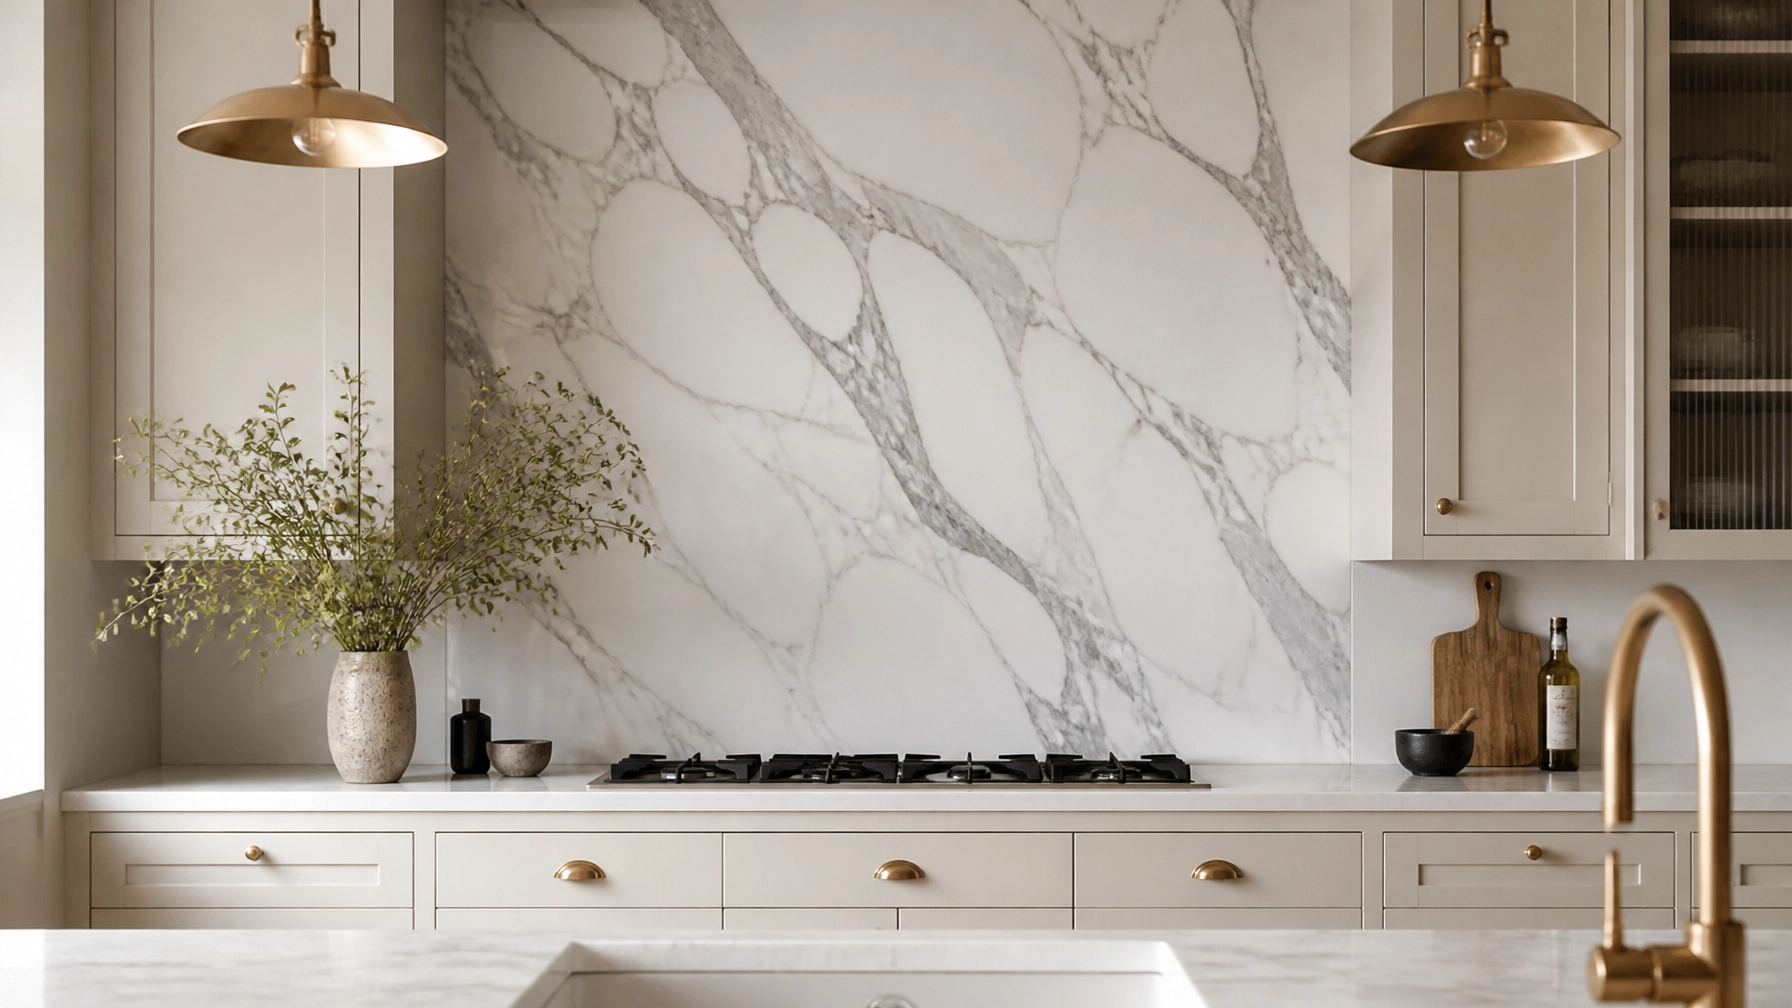
Let's get the elephant out of the room right away: when you are renovating a high-end kitchen in London — whether it's a grand Victorian terrace in Kensington, a listed Georgian townhouse in Mayfair, or a sleek glass-fronted penthouse in Canary Wharf — the splashback is not just a backdrop. It is the visual anchor of the entire room.
Too many homeowners spend tens of thousands of pounds on bespoke Italian cabinetry and professional-grade induction hobs, only to treat the splashback as an afterthought. Nothing ruins the "quiet luxury" aesthetic of a bespoke kitchen faster than slipping grout lines, water seepage behind the cooker, or tiles cracking under the relentless heat of a high-powered wok burner.
As expert wall tilers in London, we've seen every mistake in the book. In this guide we're cutting through the design fluff and giving you the straight-talking, insider breakdown on choosing, prepping and installing the ultimate kitchen splashback.
1. The Material Showdown: Which Splashback Suits Your Lifestyle?
Choosing the right tile material is a minefield. Do you go for the dramatic movement of natural marble, the tactile artisan charm of zellige, or the timeless reliability of metro tiles? Here's how the contenders compare so you don't end up with an expensive headache.
| Material | Aesthetic Vibe | Durability & Heat | Maintenance | Best Suited For |
|---|---|---|---|---|
| Natural Marble Slab / Tiles | Dramatic, luxurious, unique veining | High heat resistance; moderate impact resistance | High — porous, requires regular sealing | Feature walls behind hobs in modern luxury apartments |
| Zellige & Artisan Ceramic | Tactile, glossy, organic imperfections | Excellent heat resistance; durable glaze | Low to moderate — check specific glaze sealing | Mediterranean-inspired or period kitchens |
| Honed Metro (Subway) | Classic, geometric, versatile | Exceptional durability and heat resistance | Low — easy wipe-down, especially with dark grout | Victorian terraces & galley kitchens |
| Large-Format Porcelain Slabs | Seamless, minimalist, continuous stone look | Extreme durability, stain & heat proof | Very low — non-porous, no grout lines | Contemporary open-plan developments |
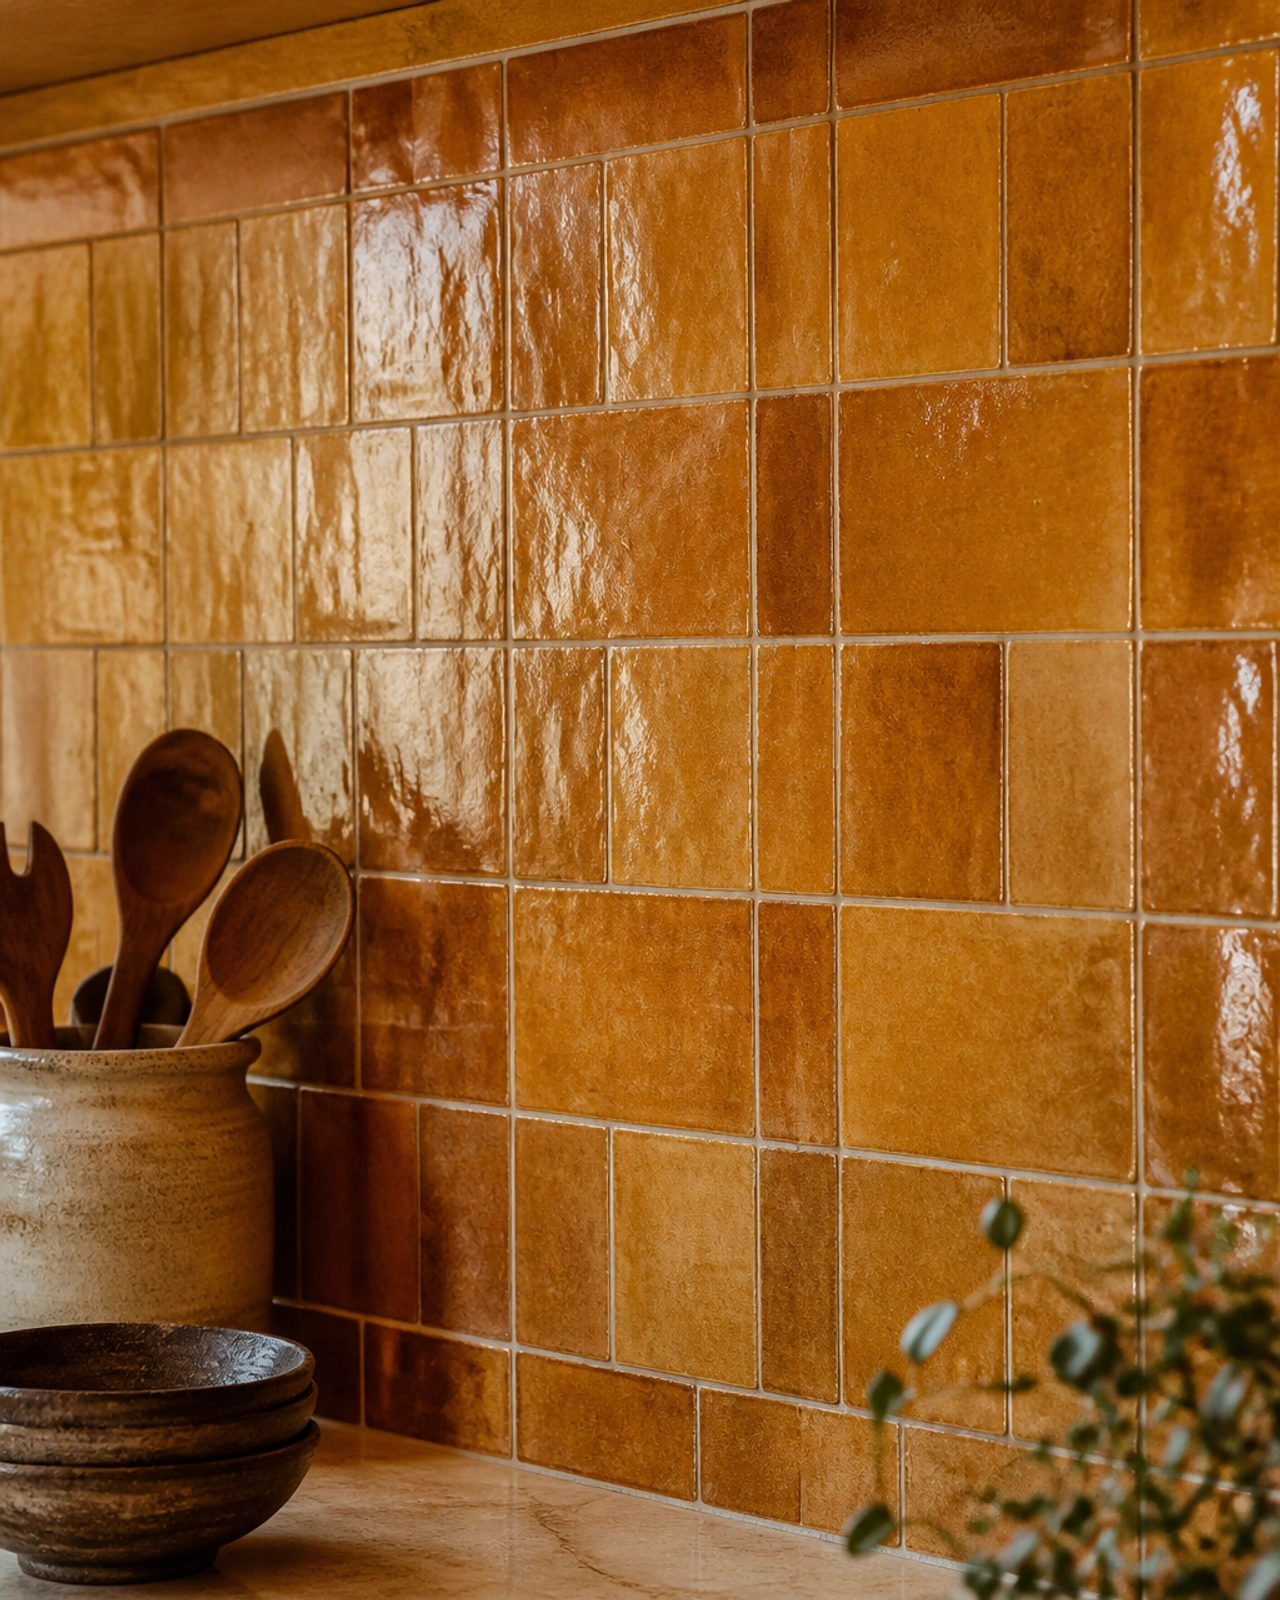
The Rise of Zellige and Tactile Surfaces
UK interior designers are currently obsessed with zellige tiles. Imported from Morocco, these handmade clay tiles feature rich tonal variations, subtle surface undulations and a high-gloss finish that catches London's shifting natural light beautifully.
The expert take: zellige looks breathtaking behind a hob, creating an instant focal point. But because their edges are intentionally uneven, they require an elite-level tiler to ensure the spacing and grout lines don't look like a DIY disaster.
Natural Marble vs. Marble-Effect Porcelain
We all love the classic milky veining of Carrara or the dramatic dark tones of Nero Marquina. But here's the reality check: real marble is porous. Splatter tomato sauce or boiling oil on unsealed marble and it will stain.
The solution: if you love the look of stone but hate high-maintenance upkeep, high-end marble-effect porcelain slabs give you 100% non-porous durability with zero sealing required.
2. Real-World Prep: Why "Cowboy" Shortcuts Lead to Disaster
You've probably wondered why some splashbacks look pristine after a decade while others start peeling off the wall within six months. The secret isn't just the tile you buy — it's everything happening behind the surface.
When dodgy contractors rush a kitchen renovation, they commit three cardinal sins:
- Ignoring substrate stability: tiling directly onto unprimed plaster or uneven drywall behind a cooker is asking for disaster. Steam and grease compromise weak substrates, causing tiles to crack or delaminate.
- Skipping waterproof tanking: areas directly behind sinks and high-output hobs subjected to heavy steam cleaning need proper moisture barriers.
- Ignoring movement joints: buildings in London settle, especially historic Victorian and Georgian structures. If your tiler doesn't incorporate flexible movement joints where the splashback meets the worktop, expansion and contraction will crack your grout lines in no time.
The London Tiler 4-Point Prep Checklist
Before a single tile is laid, our expert tilers ensure:
- ✓Substrate levelling & priming using high-grade cementitious backer boards.
- ✓Precision laser-levelling to align with cabinetry, sockets and extractor hoods.
- ✓Commercial-grade tanking around wet zones.
- ✓High-flex polymer adhesives designed to withstand extreme thermal shock behind hobs.
3. Design Inspiration: Period Homes vs. Modern Developments
London architecture dictates your design palette. What works in a gleaming Canary Wharf skyscraper will look entirely out of place in a Notting Hill Victorian terrace.
For Period & Listed Properties (Kensington, Chelsea, St John's Wood)
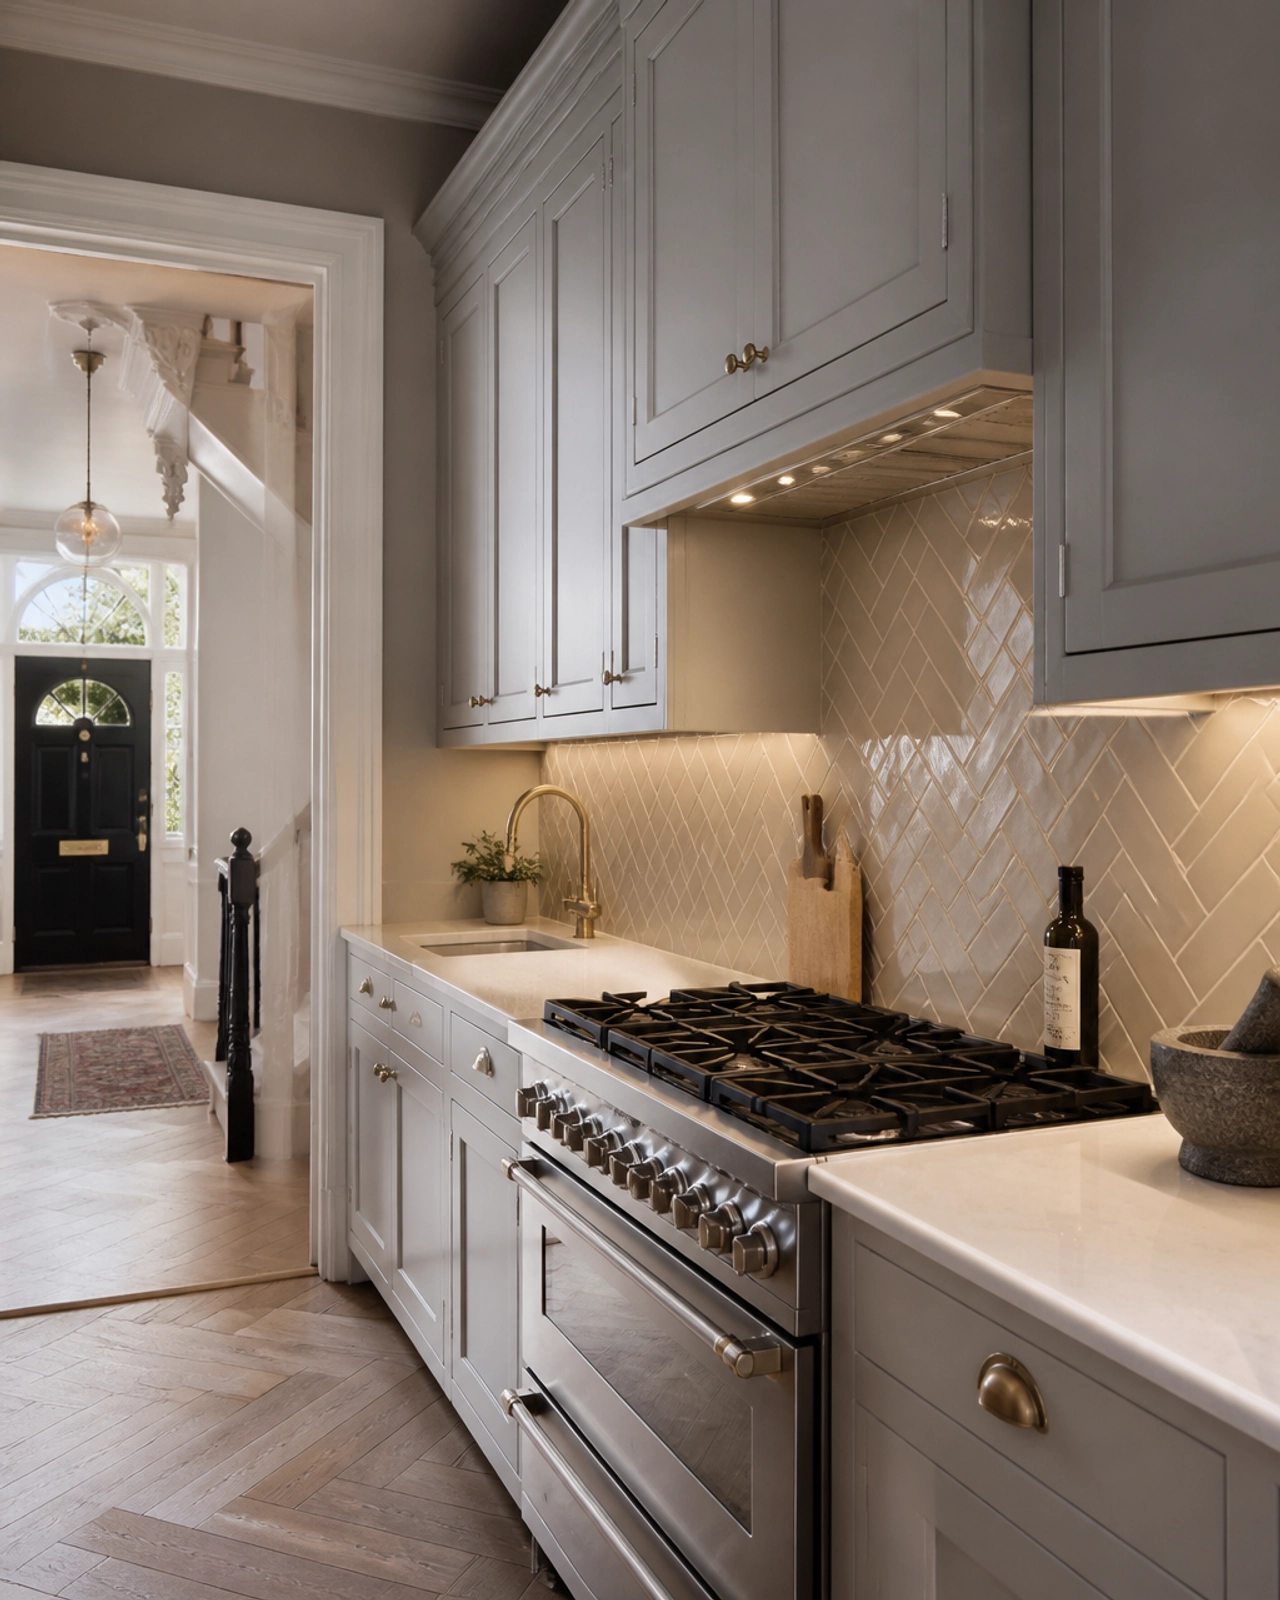
Period homes crave character and texture. Think soft sage, primrose or warm taupe metro tiles laid in an intricate herringbone pattern, paired with antique brass hardware and classic Shaker cabinetry.
Pro tip: don't stop at a narrow 4-inch upstand. Run the herringbone pattern all the way up to the underside of your wall cupboards to create a sense of height and understated luxury. See our area guides for Kensington, Chelsea and St John's Wood.
For Contemporary Luxury Apartments (Mayfair, Marylebone, Battersea)
Modern spaces demand clean lines, minimalism and visual impact. Large-format porcelain slabs replicating Calacatta marble run seamlessly from the worktop to the extractor hood with virtually invisible grout lines.
Pro tip: pair large stone slabs with integrated under-cabinet LED strip lighting. The warm light accentuates the natural veining of the stone, turning your kitchen wall into a piece of functional art. More on our work in Mayfair & Marylebone and Battersea.
4. Maintenance & Cleaning Secrets: Protecting Your Investment
Let's talk about the unsung hero of any great splashback: grout. You can buy the most expensive handmade tiles in Europe, but if you choose a cheap brilliant-white cement grout right behind your hob, it will turn a greasy grey within three months of enthusiastic cooking.
- Choose epoxy or stain-resistant grout: always insist on high-performance polymer-modified or epoxy grouts in mid-tones (warm grey, sand or charcoal) for heavy cooking zones.
- Seal natural stone annually: if you chose real marble, travertine or limestone, treat it with a penetrating impregnating sealer once a year. It takes twenty minutes and prevents oils embedding into the stone pores.
- Ditch harsh chemicals: never use abrasive scouring pads or bleach-heavy supermarket sprays on glazed ceramic, zellige or natural stone. Warm water, a microfibre cloth and a pH-neutral cleaner keep your splashback showroom-ready.
The Bottom Line
A kitchen splashback is a defining investment in your home's aesthetic and long-term value. Cutting corners with budget materials or inexperienced handymen is a false economy that always costs more to fix down the line.
Whether you're planning a complete kitchen overhaul or replacing a tired splashback, London Tiler delivers precision craftsmanship across all areas we cover.
Ready to Transform Your Kitchen?
Luxury wall tiling in London — from zellige feature walls to seamless porcelain slabs, installed to BS 5385 standards.